Mastering Black Myth Wukong Chapter 2: A Pro Gamer’s Latest 2026 Guide to Sterness of Stone and Keeness of Tiger
Black Myth: Wukong Chapter 2 guides you to find Sterness of Stone and Keeness of Tiger for final boss progression in Yellow Wind Ridge.
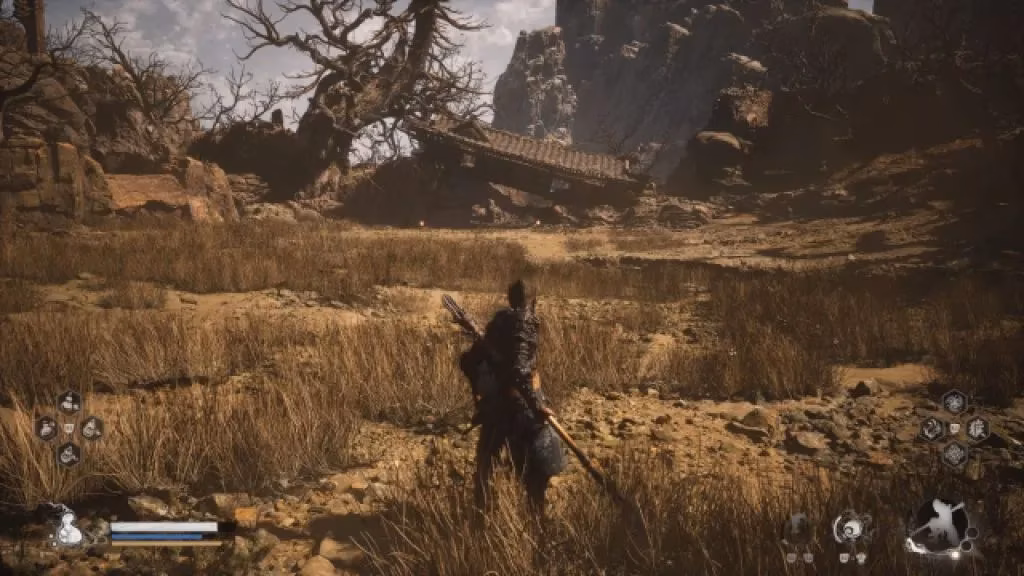
If you’ve been traversing the mystical world of Black Myth: Wukong in 2026, you already know that Chapter 2 is where the training wheels truly come off. I’ve replayed this masterpiece more times than I can count, and every time I enter Yellow Wind Ridge, I’m reminded of just how open and disorienting this sandy expanse can be. Unlike the relatively linear path of the Black Wind Mountain, Chapter 2 throws you into a sprawling wasteland dotted with crumbling shrines, hidden caves, and ferocious Yaoguai that are more than happy to send you back to the last shrine. The burning question I still see from new Destined Ones is: “How do I even progress to the final boss?” The answer lies in two unmissable yet easily confusing key items – the Sterness of Stone and the Keeness of Tiger. I’m here to break down exactly how to grab them and what to do next, fresh from my latest playthrough.
Let’s start with the Sterness of Stone. If you’re feeling lost, don’t worry – I’ve been there too. The desert environment can play tricks on your sense of direction, but this item is actually tied to a mandatory boss fight, meaning you literally cannot finish the chapter without picking it up. After you deal with the first few rock-skinned enemies and survive the ambush at the Valley of Despair, your main story progression will inevitably lead you to the Crouching Tiger Temple area. Wait, did you think you’d just stroll in? Think again. The game gates you behind the mighty Stone Vanguard, a towering golem that loves to slam the ground and summon rock pillars. I won’t spoil the fight, but I will tell you that after a grueling battle, you’ll taste sweet victory and the Sterness of Stone will automatically be added to your inventory. It’s as straightforward as that – no hidden corners, no cryptic riddles, just a boss that you must conquer. That said, I’ve seen players panic and think they missed it because the item just pops up without much fanfare. So, here’s your reassurance: if you’ve beaten the Stone Vanguard, check your key items. The Sterness is already there, waiting.
Now, what about the Keeness of Tiger? This is where things get really spicy. The Keeness is dropped by the Tiger Vanguard, and let me tell you – in 2026, this boss still separates the tourists from the true warriors. You’ll find this ferocious feline in a blood-soaked pool area just after the Crouching Tiger Temple. If you’re wondering, “Do I have to fight him right now?” the answer is a resounding yes if you want to move forward. The Tiger Vanguard is fast, relentless, and has a move set that punishes panic-dodging. I learned the hard way that patience and memorizing his delay attacks are key. But once you reduce his health bar to zero, the Keeness of Tiger becomes yours. This item, like the Sterness, is impossible to miss if you’re following the story beats. The game may give you the illusion of a non-linear playground, but the core path funnels you right into this clash. So even if you explore every nook and cranny for secrets, you’ll still end up face-to-face with this clawed menace.
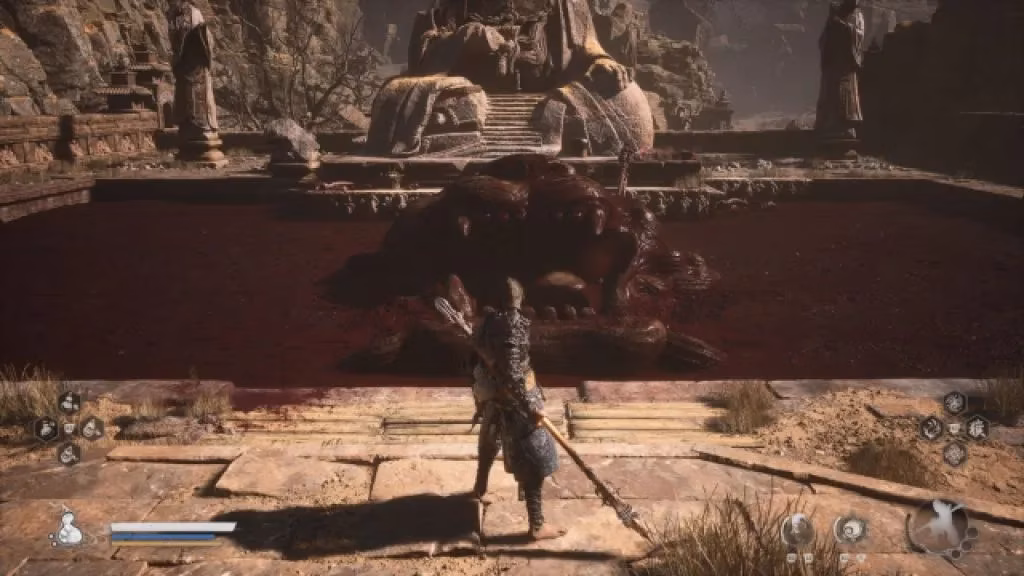
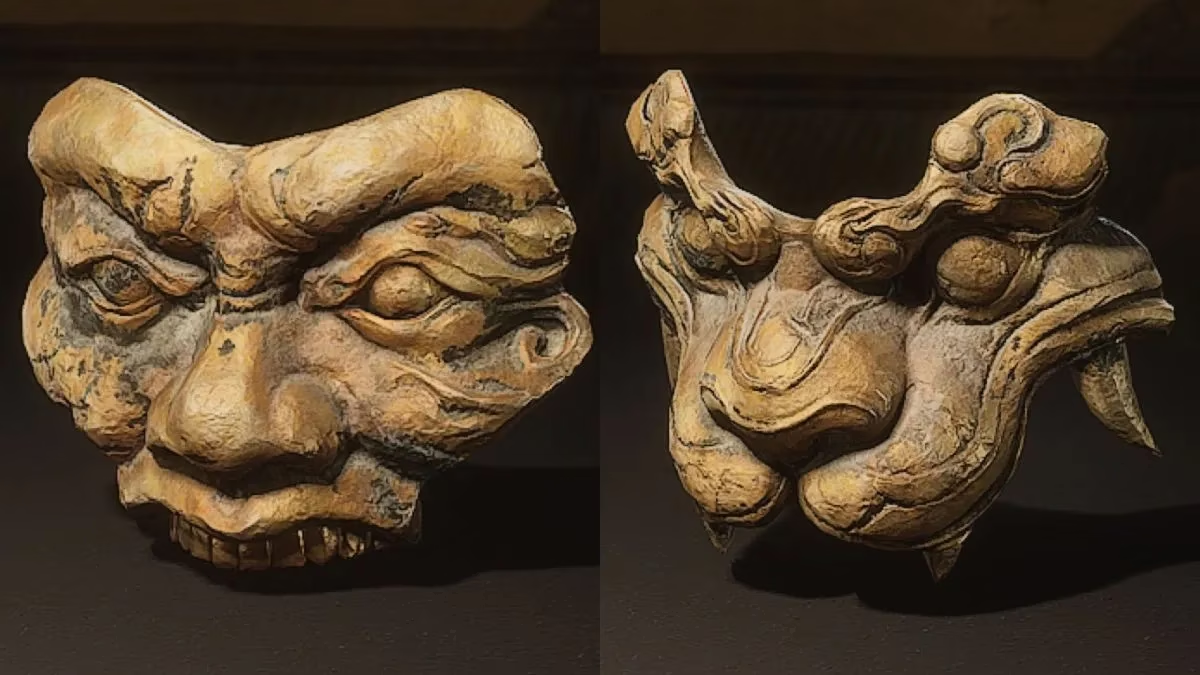
At this point, you’re holding two key items in your inventory, and you might be scratching your head: “Now what? Do I just carry them around as souvenirs?” Absolutely not. The real puzzle – if you can call it that – is what you do with them. Head to the very spot where the Tiger Vanguard was feasting. Behind his initial position, you’ll notice an imposing statue. This is where so many players I’ve coached hit a mental wall because the environment doesn’t scream “interact here.” But trust me, when you approach that statue with both items, a prompt appears. You’ll place the Sterness of Stone and the Keeness of Tiger into its hands, and the whole scene transforms dramatically. The statue’s mouth opens wide, and the pool of blood that surrounded the tiger drains away, revealing a hidden staircase going deep underground. It’s a moment that perfectly captures Black Myth: Wukong’s blend of subtle storytelling and visual spectacle.
What follows is your descent into the true final stretch of Chapter 2. You’ll step down the ancient stairs into the Cellar, immediately unlocking the Cellar Shrine. And here’s a pro tip: this is also where you unlock the medicine crafting mechanic, which has become an absolute game-changer in my subsequent runs. Honestly, did you expect the final boss of this chapter to be a pushover? The Yellow Wind Sage is a significant difficulty spike, and having the ability to brew your own healing and buff items right before facing him is a gift from the developers. I always spend a few minutes collecting materials in the cellar and experimenting with recipes. It’s the perfect preparation zone.
Why does this matter in 2026, two years after launch? Because Black Myth: Wukong continues to draw in new players every month, and I still see the same confusion pop up in forums about Chapter 2’s progression. Some think they need to defeat every optional boss to continue; others wander the desert for hours looking for a key that’s already in their pocket after the Stone Vanguard. I wrote this guide because I’ve lived through that frustration myself on my first playthrough. And let me tell you, nothing feels worse than being over-leveled but unable to find the path forward simply because you didn’t check your key items or missed the statue interaction.
To sum it up with a quick checklist I always use now:
-
🗿 Sterness of Stone: Obtained automatically by defeating the Stone Vanguard (mandatory story boss).
-
🐅 Keeness of Tiger: Dropped by the Tiger Vanguard at the blood pool (also mandatory).
-
🤝 Use items: Interact with the statue behind where the Tiger Vanguard stood.
-
⬇️ Descend: Enter the statue’s open mouth, go down the stairs, and unlock the Cellar Shrine.
-
🧪 Crafting: Don’t ignore the new medicine mechanic – it’s your best friend against the Yellow Wind Sage.
I can’t stress enough how much easier this chapter becomes once you internalize that sequence. So the next time you’re standing in Yellow Wind Ridge, sand in your robes, wondering if you missed a turn, just remember: follow the main path, beat the two key guardians, and let the statue open the way. And if you’re still struggling, maybe it’s time to revisit your sparks distribution. Happy hunting, Destined Ones!